

[spb_row wrap_type=”content-width” parallax_image_height=”content-height” parallax_image_movement=”fixed” parallax_image_speed=”0.5″ bg_video_loop=”yes” parallax_video_height=”window-height” parallax_video_overlay=”none” row_overlay_opacity=”0″ vertical_center=”true” width=”1/1″ el_position=”first last”] [spb_text_block animation=”none” animation_delay=”0″ padding_vertical=”0″ padding_horizontal=”0″ width=”1/1″ el_position=”first last”]
Filters might seem a bit old-fashioned now; the effects that photographers used to get with a thin piece of glass on the end of the lens. Editing software like Photoshop can replicate them – so why bother with filters?
Well, there are plenty of digital photographers who do just that – keeping their old-school glass lenses with their digital kit. Why? Because you can see the effects while you’re composing and shooting. It becomes part of the photographic process and not something added as an afterthought.
One of the most useful filters, especially if you’re travelling at the height of summer or near the sea, is a polariser.
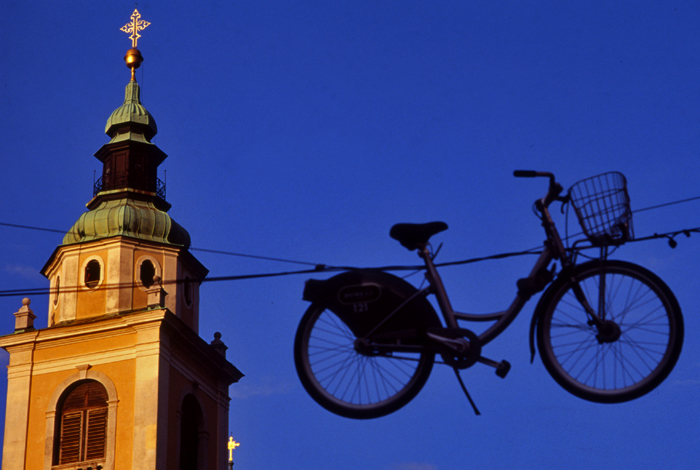
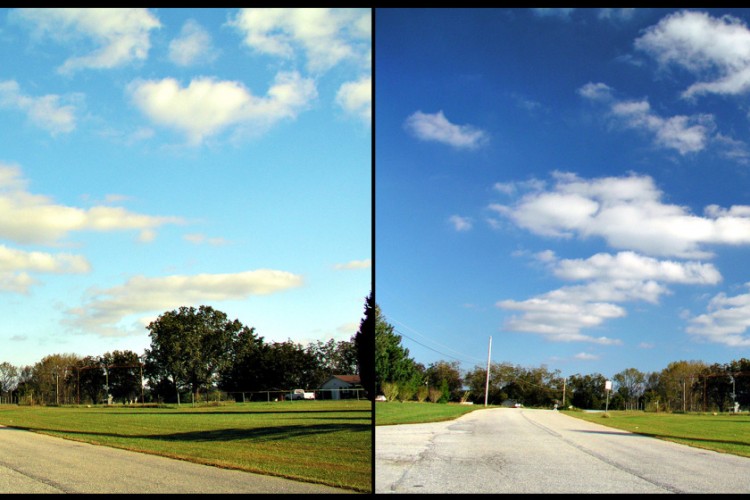
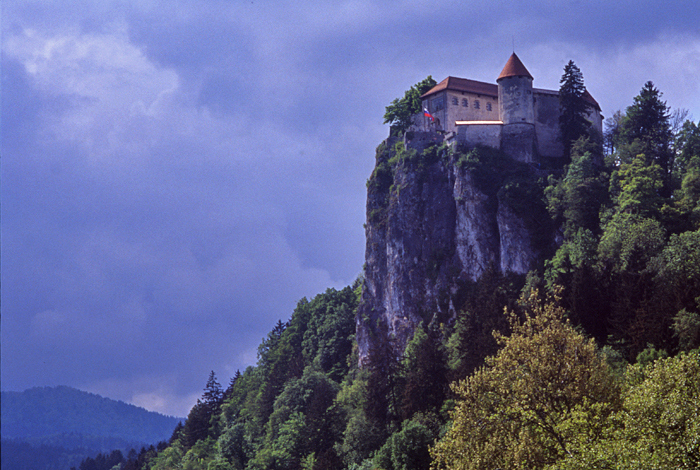
Polarisers have two uses – they cut reflections and glare from shiny surfaces like glass and water, and they increase the contrast between dark and light areas, such as clouds and blue sky. A polariser also cuts down the amount of light reflecting off moisture or other particles in the air; this makes outdoor seems look much sharper and crisper. Landscape photographers often use a polariser just for this reason.
[/spb_text_block] [spb_text_block animation=”none” animation_delay=”0″ padding_vertical=”0″ padding_horizontal=”0″ width=”1/2″ el_position=”first”]
[/spb_text_block] [spb_text_block animation=”none” animation_delay=”0″ padding_vertical=”0″ padding_horizontal=”0″ width=”1/2″ el_position=”last”]
[/spb_text_block] [/spb_row] [spb_row wrap_type=”content-width” parallax_image_height=”content-height” parallax_image_movement=”fixed” parallax_image_speed=”0.5″ bg_video_loop=”yes” parallax_video_height=”window-height” parallax_video_overlay=”none” row_overlay_opacity=”0″ vertical_center=”true” width=”1/1″ el_position=”first last”] [spb_text_block animation=”none” animation_delay=”0″ padding_vertical=”0″ padding_horizontal=”0″ width=”1/1″ el_position=”first last”]
Back in the film days, photographers used either a linear polariser, or – especially after autofocus and more sophisticated in-camera light metering came in – a circular polariser. Linear polarisers and circular polarisers are pretty much the same, except the circular version has an element which can intensify or lessen the effect a you rotate it. This also prevents light being reflected back into the camera and affecting either the exposure or the autofocus. Circular polarisers are more common these days, so you’re more likely to find them for sale.
Polarisers work the best when the light is intense – they’ll massively help limit overexposure in a sky, which can easily happen on bright sunny days. It’s also helpful if you’re using cameras that don’t have very fast shutter speeds (as is often case with older film cameras). A polariser can be really useful to bring an exposure into line with the camera’s capabilities.
Also, there’s the added bonus that by rotating the polariser, you get to see the effect in the viewfinder, and can lessen or increase the effect as you desire.
They’re not cheap – you can expect to pay around £25 for a filter that will fit a standard 50mm lens.
[/spb_text_block] [spb_text_block animation=”none” animation_delay=”0″ padding_vertical=”0″ padding_horizontal=”0″ width=”1/2″ el_position=”first”]

[/spb_text_block] [spb_text_block animation=”none” animation_delay=”0″ padding_vertical=”0″ padding_horizontal=”0″ width=”1/2″ el_position=”last”]
[/spb_text_block] [spb_text_block animation=”none” animation_delay=”0″ padding_vertical=”0″ padding_horizontal=”0″ width=”1/1″ el_position=”first last”]
Because they’re more expensive, it pays to keep them between a UV filter and the front of the lens, rather than in front. UV filters are much cheaper, so if your lens gets scratched by dust or bumped, it’s better that it takes the brunt of it.
If you’re shooting with a polariser, remember that the effects can be too pronounced in the shade – or you might find that it cuts out so much light that you might struggle to be able to shoot handheld. In shade, I tend to take the polariser off and put it back in my camera bag.
It’s worth keeping a filter case or filter wallet – which you can usually buy for little more than the cost of a UV filter – in your camera bag too, just to make sure your filters don’t get chipped or scratched by accident.
[/spb_text_block] [spb_blank_spacer height=”30px” width=”1/1″ el_position=”first last”] [spb_text_block animation=”none” animation_delay=”0″ padding_vertical=”0″ padding_horizontal=”0″ width=”1/1″ el_position=”first last”]
Author: Stephen Dowling/Zorki Photo
Image © top left PiccoloNamek/Wikimedia
[/spb_text_block] [/spb_row]
