

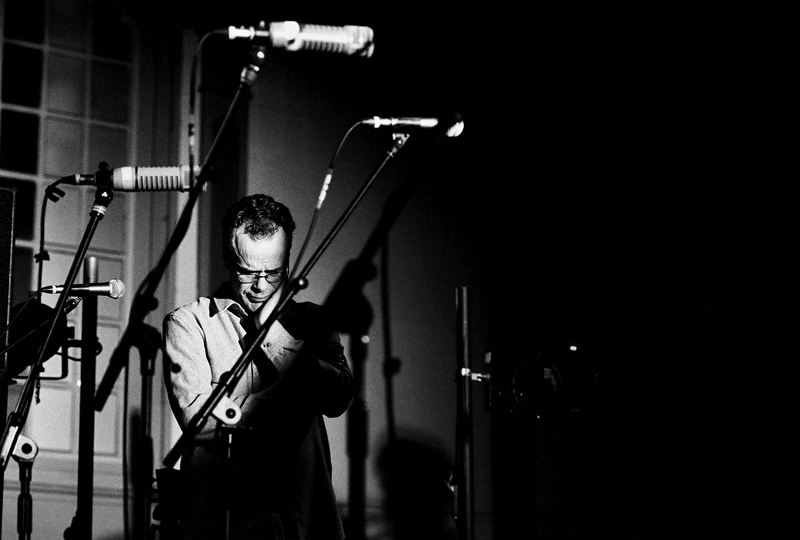
Electronic flash can be a lifesaver. Every smartphone, compact camera and entry level DSLR has one, giving frame filling light when needed. And flash can allow great photographs to be taken in challenging light, or to create the perfect lighting conditions to bring the most out of a subject. If you’ve ever spent time in a photographic studio you’ll know just how important artificial light can be, and how transformative it can be.
But when you’re starting out, it’s often best to leave your flash at home. While it’s true early flashes required manual input from the photographer to ensure they were exposing properly, most modern electronic flashes are blessed with a computer brain that takes all of the guesswork out of the picture.
Yet many of these modern flashes require a camera with an equally sophisticated brain. If you’re using a no-frills manual camera – the very best way to learn – then you’re often only limited to the camera’s X-Sync speed, which is often far slower than the camera’s fastest shutter speed. So if you’re not getting the best out of flash units – the kind of control that you would with a serious DSLR, for instance – it makes sense to concentrate instead on how to let the light around you work for you.
There are, however, ways you can get by with out flash – and most won’t require buying any more equipment.
Use a wider aperture. Opening up the aperture will let in more light, allowing you to use faster shutter speeds. And the added bonus is that with a wider aperture you’ll be focusing attention on your subject.
Use a slower shutter speed. The other side of the equation, and useful if you want to have more of the scene in focus. As long as your shutter speed is higher than your focal length (eg 1/60 when using a 50mm lens) then that shouldn’t be a problem.

Push your film. This works best of all with black and white film, which is the more flexible in this respect than colour emulsions. You can push some types of black adn white film four stops (for instance, turning a 400 ISO film into a 6400 ISO film). This allows you to take photographs handheld in more challenging light conditions.
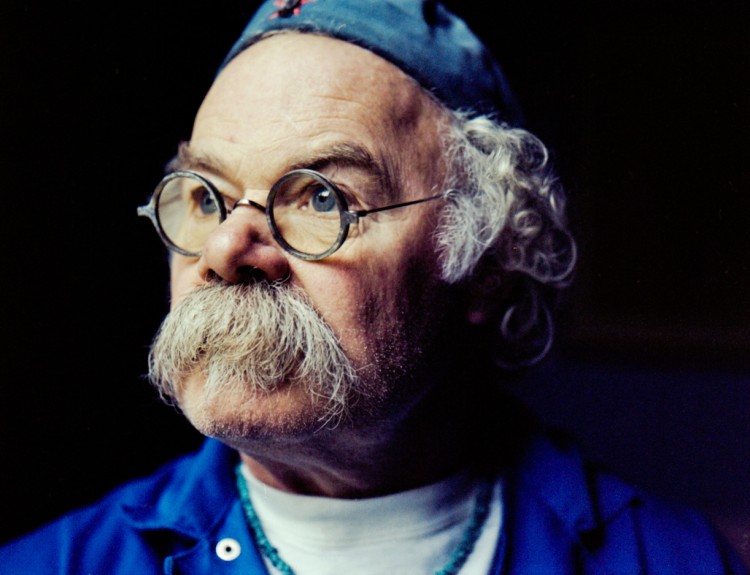
Use window light. Jane Bown, who recently passed away, was one of Britain’s most respected portrait photographers. Her pictures of figures such as Francis Bacon, Bjork, Mick Jagger and Orson Welles are incredible portraits, all taken on film cameras, black and white film and using natural light. Bown would often sit her subjects in front of a window; her technique was simplicity itself, yet created rightly lauded pictures. One of the great advantages with window light – especially on a cloudy day – is that it gets rid of harsh shadows.
Use artificial light. Sometimes the strong light from an artificial source, a lamp or overhead lights, can be enough if you’re lucky, though you’ll probably need to open up the aperture. If you’re shooting on colour film, be aware of the cast that tungsten lighting can leave on pictures (though this can be rescued in post-processing).
Fill in with a reflector. One of the most useful forms of flash, odd enough, comes into its own during bright and sunny conditions. Fill-in flash is a small, bright burst of light that illuminates the foreground when there’s a bright background fighting for the viewer’s attention (or worse, fooling the cameras meter). It a technique that helps the foreground pop out of a bright background and has often been used by photojournalists and National Geographic photographers. Again, there’s a low-tech solution – bouncing that bright light source in front of you back onto the subject’s face using a reflector. Reflectors come in a range of sizes and prices – you can even make your own if you’re feeling in a DIY mood – and they can shine a surprising amount of light for you to use. And absolutely no batteries required.
