


One of the big stumbling blocks that prevents people trying film – especially with older cameras – is metering.
We’re used to taking perfectly exposed pics time after time these days, either on our phones, digital compacts or DSLRs. To give that up and try and get well-exposed photos on a 50 or 60-year-old camera seems like a pretty steep learning curve.
Many film cameras built towards the end of the 20th Century came armed with excellent meters. Enthusiast SLRs like the Nikon F100 or the Canon EOS 5 boasted metering that would still be impressive on a DSLR today – they made shooting perfectly exposed pics a cinch. But what if you’re shooting on an old Leica rangefinder? Or a Lubitel? Or the old folding camera that your grandparents had? You can use your phone (there are plenty of accurate light meter apps around these days) or another camera that has an accurate meter. But by far the easiest way is to invest in a handheld light meter.
Light meters were an essential photography tool in the earlier days of film. The first camera to include a selenium-cell meter was the Super Kodak Six-20 in 1938, but it was another three decades before in-camera meters became the norm. Instead, photographers carried a handheld selenium meter that would allow them to accurately gauge the light. The meter would measure the amount of light reflected off the surface of a subject – be it a house, a person, the sunny side of a street etc – and would give a reading that could be matched with different aperture numbers, shutter speeds and film speeds.

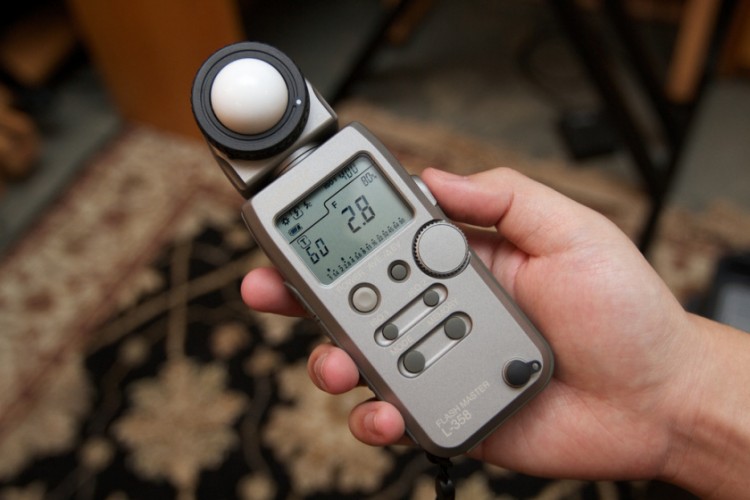
These reflected light meters are the simplest way of taking a reading. Another method is an incident light meter. It sports a pale plastic dome on the front, which you place in front of the subject you’re taking a picture of and take a reading of the light falling on to it – you’ve probably seen this method in footage of portrait or modelling shoots. The incident system is more accurate if you have a subject standing in front of different strengths of light. The other bonus with incident meters is they can measure the flash coming from camera or flash unit.
Handheld meters come into their own if you’re using a camera that doesn’t have a meter, or if you know the meter on your camera has some issues (if you have a decent handheld meter, there’s no reason to get rid of a camera that’s working fine apart from a dodgy meter). While most of the cameras I use have some sort of metering, there’s a handful which don’t. I collect and shoot with a bunch of old Soviet cameras – FED rangefinders, a Zenit 3M, an Iskra medium format folder – and none of these have a light meter. Having a light meter allows me to take these out often and shoot film with them – exactly what they were built for.

Light meters can be relatively simple and small, or bulkier more sophisticated affairs. It’s best to work out which one suits your style of shooting best.
I’ve used several light meters in the last few years. Once was a 1970s-era Soviet model called the Sverdlovsk-4; I thought shooting with old Soviet cameras might call for a Soviet meter. The Sverdlovsk metered just fine but needed tinfoil in the battery compartment so Western batteries could be used; it was either that or use the bulging AA battery pack that came with it. I also had a Gossen Lunasix, which is a huge handheld meter that was used by pros and serious amateurs; it was a much-respected bit of kit. The only problem with the Lunasix was its sheer bulk. It’s a big meter that seems better suited for using in a studio or a fixed location, rather than wandering around on holiday or in my weekend which tends to be when I’m doing most of my photography.
Nowadays, I use a Sekonic L-208 Twinmate; it’s one of the simplest light meters you can buy new. It’s very much styled like an old-school light meter. You take a reading using a button on the right hand side, and rotate the dial until a green peg and a red needle match up together; then you can match the aperture and shutter speeds. By pushing over a small white mask, the meter can also be used as an incident meter – pretty amazing considering the L-208 easily fits in your palm.
I haven’t got big hands, so the Sekonic is perfect for me; other photographers might find it a little bit fiddly. I bought it about five years ago and it’s worked perfectly. While it’s made almost completely of plastic, its robust enough to take anywhere I go. I’ve used it to help shoot dozens of rolls and I’ve not even had to replace the battery yet.
A good handheld meter will make any working camera a photographic tool again. For that reason alone, you should have one.
Author: Stephen Dowling/Zorki Photo
Featured image © Thorsten Overgaard
