


We saw this via PetaPixel and had to get in touch with Shane Arsenault about his amazing achievement. Arsenault is a student at Alberta College of Art and Design, in his 4th year graduating with a Bachelor of Design majoring in Photography. Arsenault has covered a range of mediums within photography working with a wide variety of techniques such as the collodion wet plate process to building his very own camera, it’s clear to us that Arsenault’s love and respect for the medium is extremely strong and ever growing.
Arsenault kindly let us share this story he wrote on his blog about how he came to build his very own 16″x20″camera, enjoy:
[dropcap size=small]S[/dropcap]tarting back in May of 2014, I finally put my first foot forward in the making of a 16×20 inch bellows camera. The idea to build a camera was nothing new to me, but I was always hesitant to begin construction since I am the type of person that prefers to work off a set of blue prints and directions. Unfortunately, since my drawing skills aren’t amazing, it was pretty difficult to visualize and plan a solid blueprint of the project – which ultimately forced me to bite the bullet and simply begin construction of the camera and problem solve along the way.
Before building the camera, I did set out to make an outline of what I wanted the camera to achieve and be used for. For example; I knew that it needed to have a full range of motion as most Large Format Cameras (tilt, shift, swing, rise, fall), exceptional bellow draw to allow me to get close to subjects, and utmost, to look professional. With these goals in mind, I would be able to make a camera that can be used for all sorts of subject matter and situations.
From then until now: the construction of the camera is complete, I have run multiple tests in studio with the camera, and have shot a small series of six portraits.
During the process of building the camera all the way to the small series I have created, I have made a point of documenting what I have done in order to create a short visual essay to share the process with you all. Here we go!
[column size=one_half position=first ] [/column]
[column size=one_half position=last ]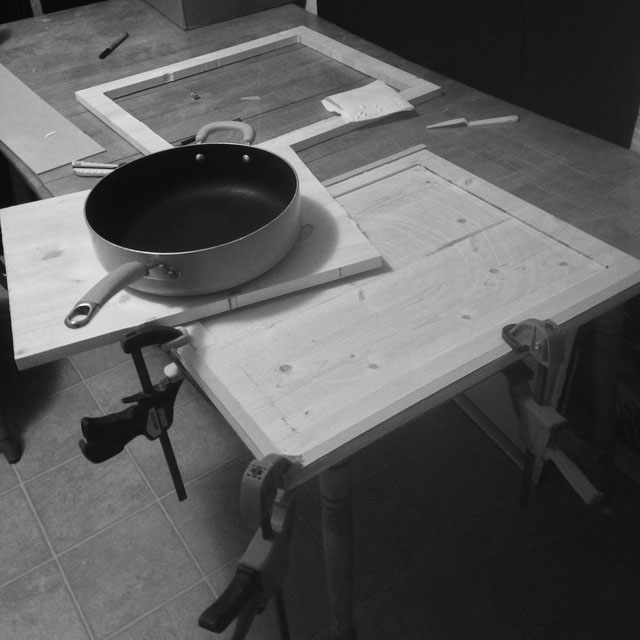 [/column]
I needed to have some sort of foundation in order to start construction. I chose to start building the film (paper) back. By starting with the film back, this allowed me to make all the proper measurements that I needed in order to complete the rest of the camera.
Here you can see where I used a router to make a space large enough to fit a piece of 16″X20″ light sensitive material. Its depth is deep enough to fit everything from paper to film to 3mm tin or glass. What is being clamped down is an 1/8th inch piece of MDF; once the top piece of wood (in the background of the image, top right) is fitted on top of the MDF, there would be enough space for a dark slide to fit in to keep the film safe from light.
[column size=one_half position=first ]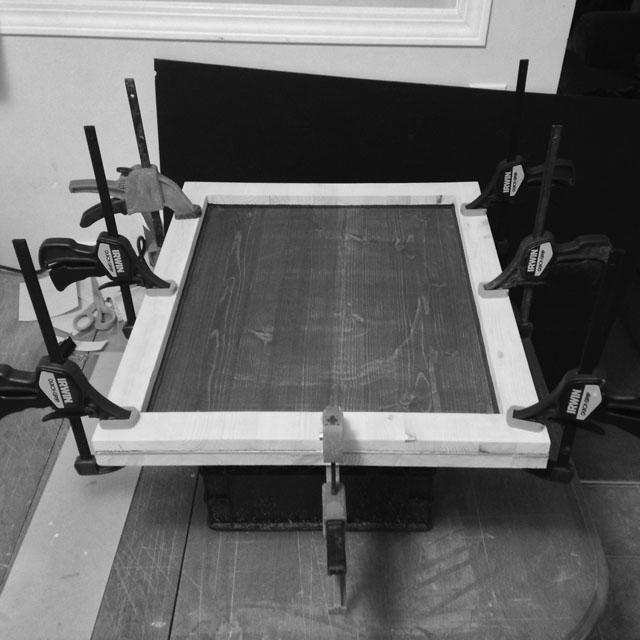 [/column]
[column size=one_half position=last ]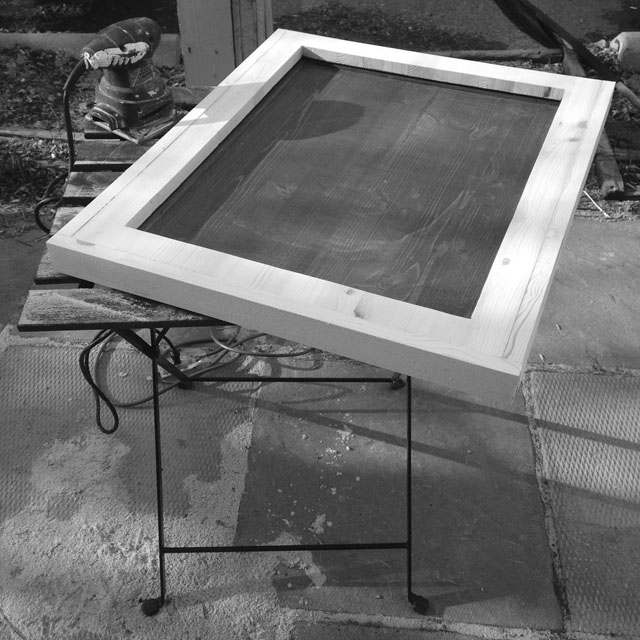 [/column]
Clamping the top piece of the film back. The colour of the wood is darker now since I chose to do a quick layer of stain to make sure all the hard to reach (stain) places would have some sort of protective coating.
Once the top piece of the back was fitted, I proceeded to add a few strips of pine around the edges to cover up all the layers of wood and MDF, and ultimately give it a cleaner and more professional feel. Once everything was in place, I then sanded down all sides of the film back to make sure there were no protruding edges and to make sure it looked like one unified piece of wood. With the exception of the dark slide and a stain job, the film back is done!
[column size=one_half position=first ]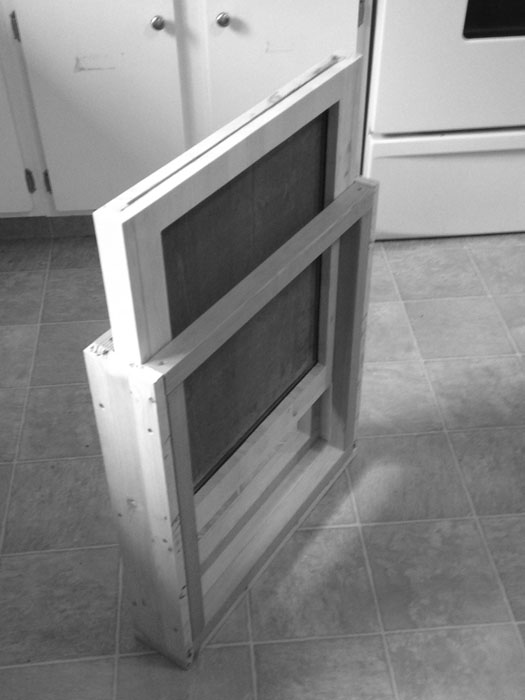 [/column]
[column size=one_half position=last ]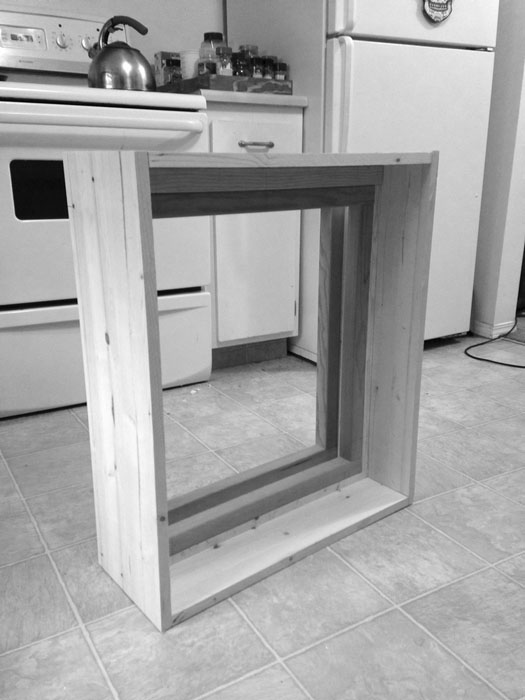 [/column]
Now that the film back is complete, I was able to take all my necessary measurement from it, and start construction on the actual camera. Simply, I needed to start construction of building a light tight box that could hold a film back and ground glass back, and hold a lens to project the images. Here I started building the back of the camera. I needed to build a box that would allow me to slide in and out my film holder, and the ground glass back – once that was built, I could proceed to the next steps.
[column size=one_half position=first ]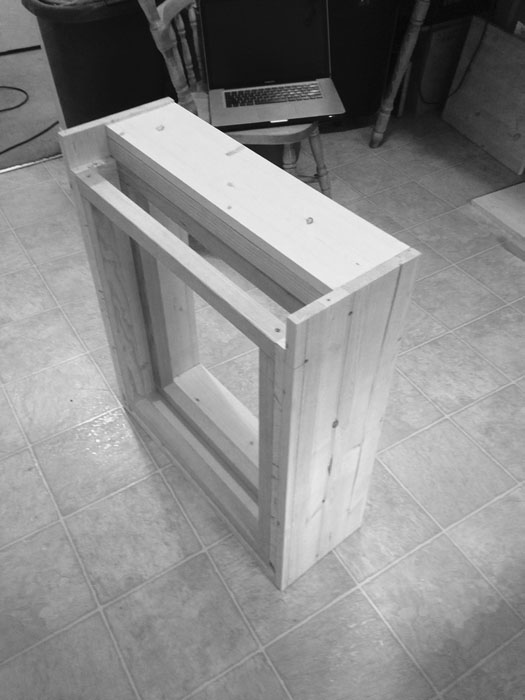 [/column]
[column size=one_half position=last ] [/column]
With the frame built for the sliding backs, all I had to do was build around it. While doing this, I needed to make sure that I provided sufficient space for my bellows to attach on the inside of the camera (seen in picture 2), and to make sure that I made everything large enough so that the back of the camera could stand and support itself. I provided multiple shots so you can get a better idea.
[column size=one_half position=first ]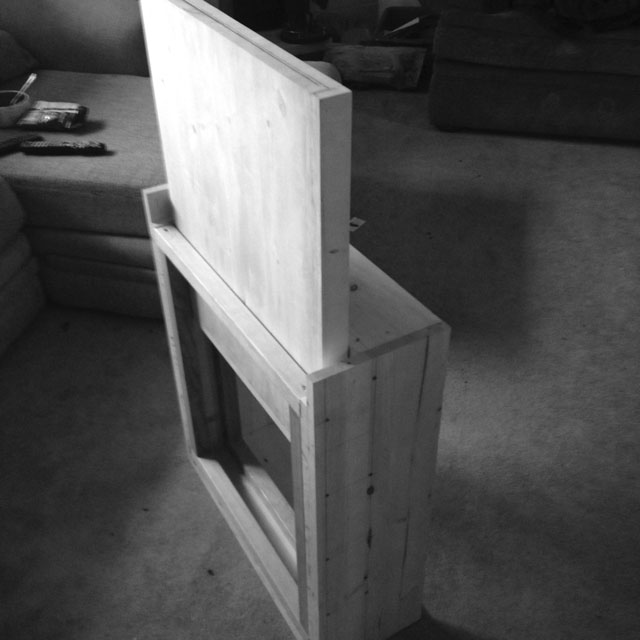 [/column]
[column size=one_half position=last ]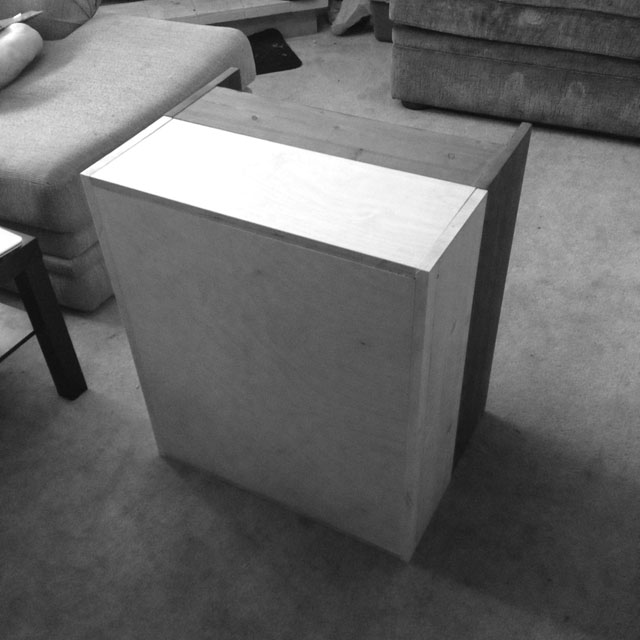 [/column]
Now that the film back and the back of the camera were fully built – the rest of the construction was easy, all I had to do was take all the measurements from the parts that I already built, and re-apply them to make the front of the camera and make the ground glass back. In these two pictures you can see what the front element of the camera is going to look like. Directly in the centre of the front box is where the lens will be placed.
Here (below) you can see me routing the hole in the front of the camera where my lens is going to be mounted.
[column size=one_half position=first ]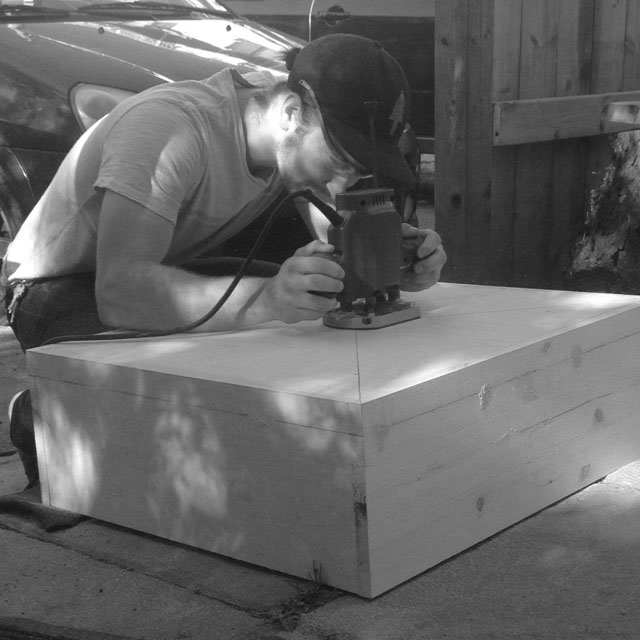 [/column]
[column size=one_half position=last ]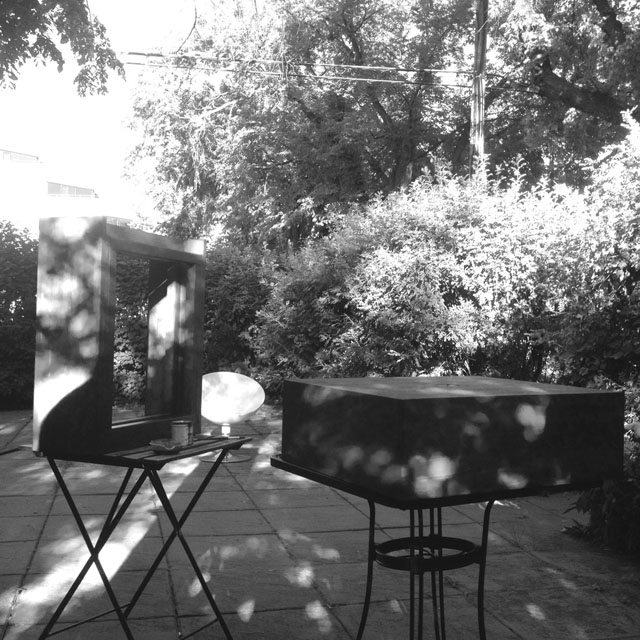 [/column]
All pieces of the camera are fully finished (including the ground glass back, which I haven’t shown)! With the help of my friends, we added a couple coats of stain to the entirety of the camera, and once dry, varnished the whole thing for a nice finished matte look. All that is now left to do is mount the lens and attach the bellows.
After a long search of which lens to use that would have an image circle large enough to cover 16″X20″, I ended up purchasing a vintage 19.75 inch (502mm) F10 Kodak Anastigmat lens.
[column size=one_half position=first ] [/column]
[column size=one_half position=last ]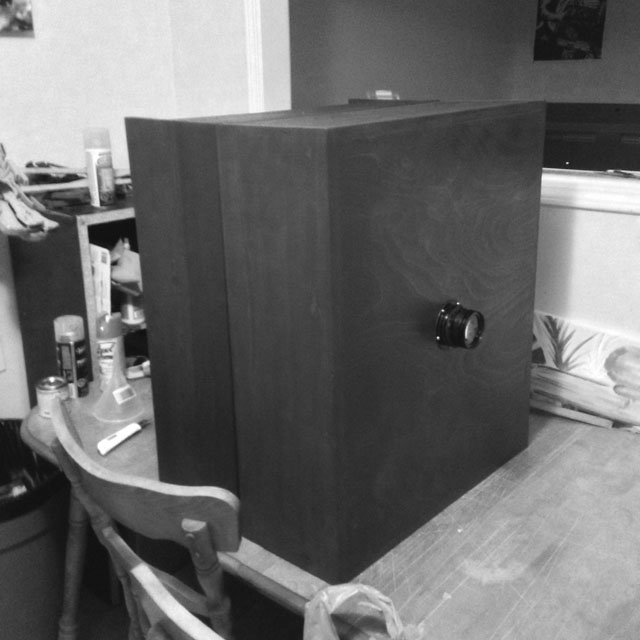 [/column]
Here is a view of the camera when it is extended. Since the bellows were much to complicated to me to construct by hand, I ended up getting them custom made by a fellow in Hong Kong where he hand made them using reinforced vinyl. Furthermore, I got a local custom leather shop (Odessa Goods) to create simple leather handles for my film and ground glass back – this made it easy to insert and remove the backs as needed.
[column size=one_half position=first ]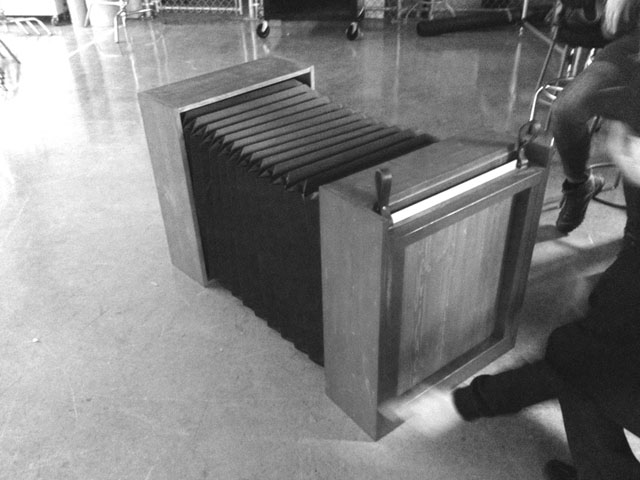 [/column]
[column size=one_half position=last ]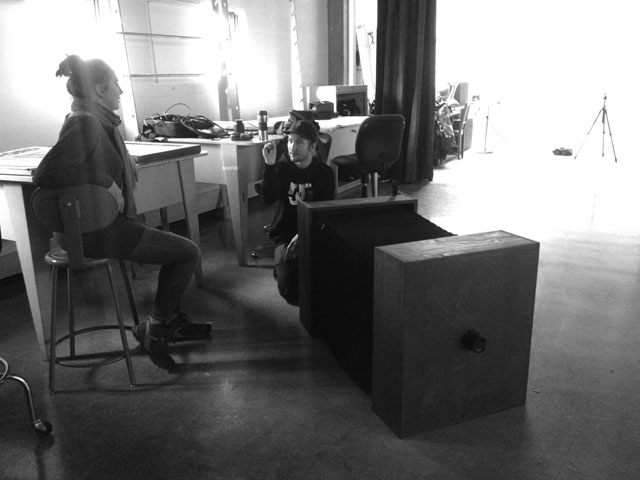 [/column]
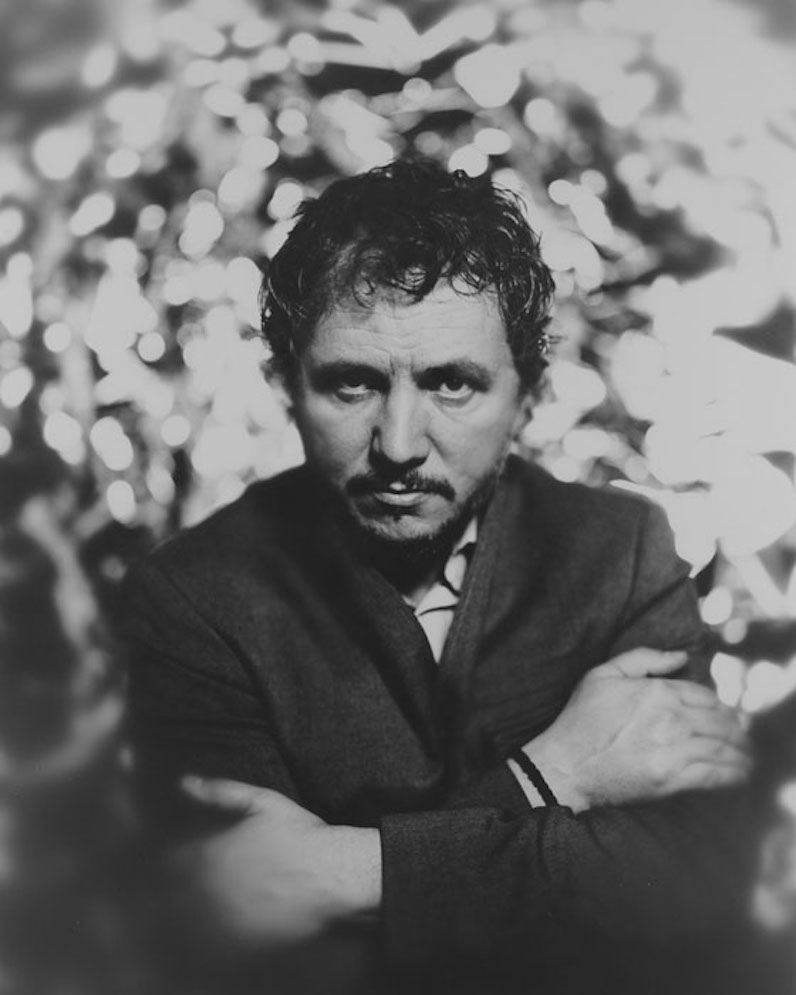
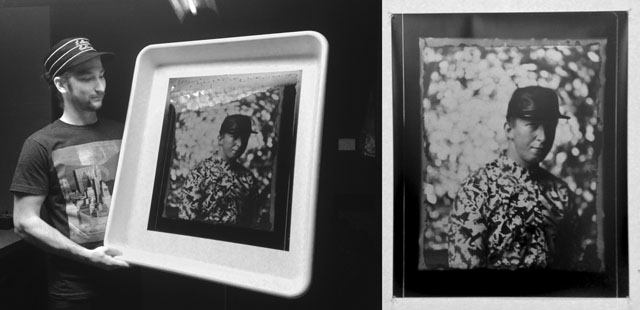
The very first negative made with the camera. You can tell by the look on my face I am pretty excited! (Below) This is the first negative that I chose to go on and make a contact print within the darkroom. Below you will see the final product.
[column size=one_half position=first ]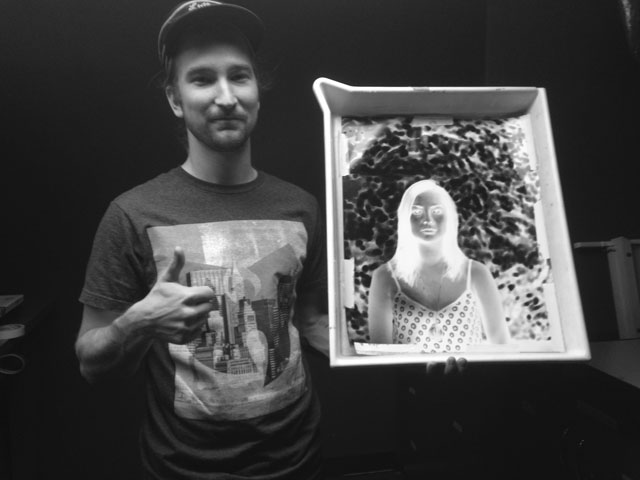 [/column]
[column size=one_half position=last ]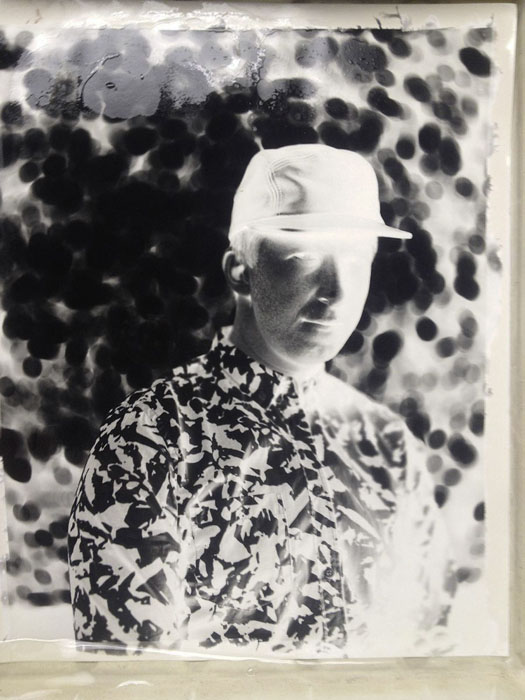 [/column]
Here is the very first print I made using the above negative. I am using RC paper to create paper negatives of my subjects, which I then go on to make a contact print in the darkroom that gives me a positive. In this particular case, I used a 20″X24″ piece of RC paper to make my contact print.
Since the ASA (ISO) of this paper is around 2, during the shoot, I use hot lamps to allow me to focus on my subject, then proceed to use a Profoto D4 pack with one light at full power to provide me enough light for an instant exposure. The results could not have been better.
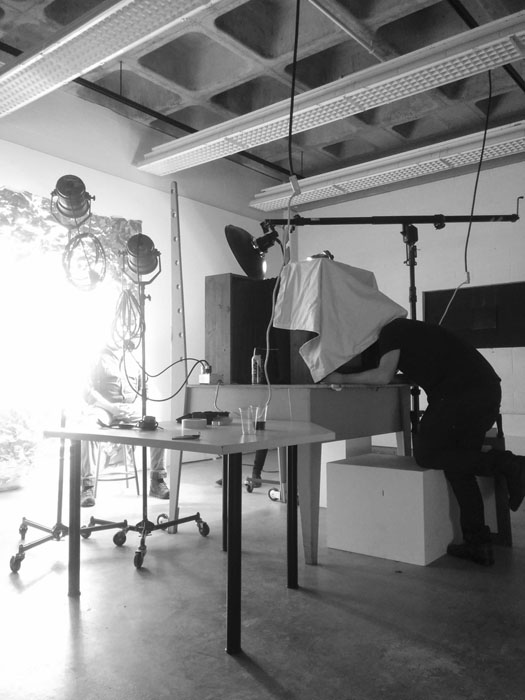

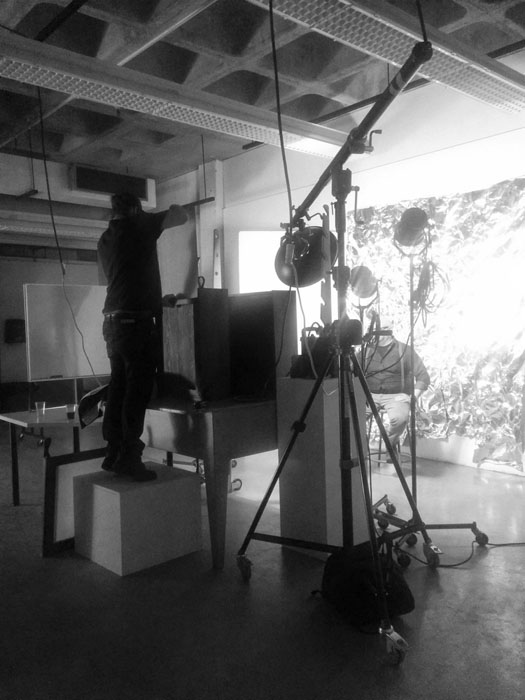
You can see me focusing the camera onto my subject, then loading the film back, and finally lifting up the dark slide in order to make my exposure. Its funny to think sometimes that to operate the camera I must use a table as a tripod, a stool to stand higher than the camera, and an assistant to operate the manual shutter (simply taking the lens cap on and off). If you look closely on the middle shot just to the left of my feet, you can see the ground glass back I use to focus my images.
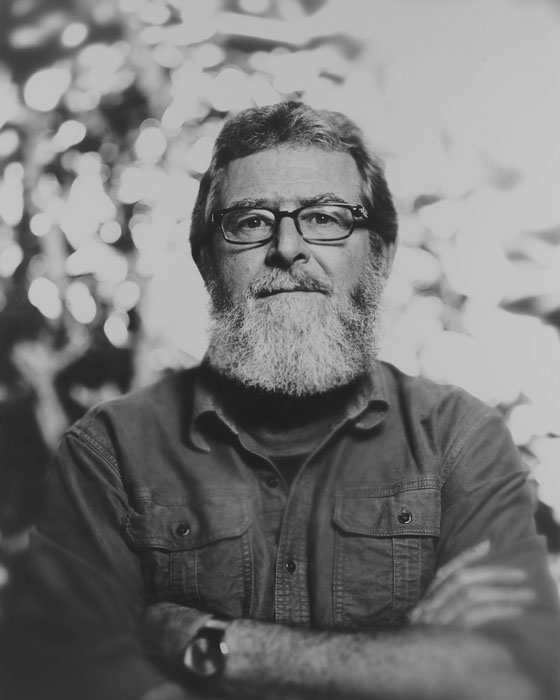
These particular images taken of me was during a shoot where I photographed 6 people through the course of an entire day. All of my subjects were influential photographers within the photographic industry and have mentored me throughout my own photographic journey. Below is the body of work that I have produced so far:


Information courtesy of Shane Arsenault/ Images © Shane Arsenault
